I spent an entire evening convinced the diffusion model was broken.
The symptoms looked familiar: early frames held together, then color shifted, then fine detail turned muddy, then the whole sequence developed a soft, smeary look that no amount of prompt surgery seemed to fix. I did what I usually do. I locked the seed. I simplified the prompt. I swapped samplers. I raised and lowered steps. I checked the model files against the filenames I thought I was loading. Nothing moved the failure in a way I could explain.
On the twentieth controlled run I finally isolated the stage that was actually changing the output. It was not the sampler. It was not the frame count. It was the VAE.
This is the post-mortem of that debugging session: the false leads, the measurement method that finally worked, and the practical checks I now run every time a Wan2.2 result looks “almost right” but feels wrong.
If you can’t reproduce it, it’s not a workflow. The VAE is part of the workflow.
The Setup That Would Not Behave
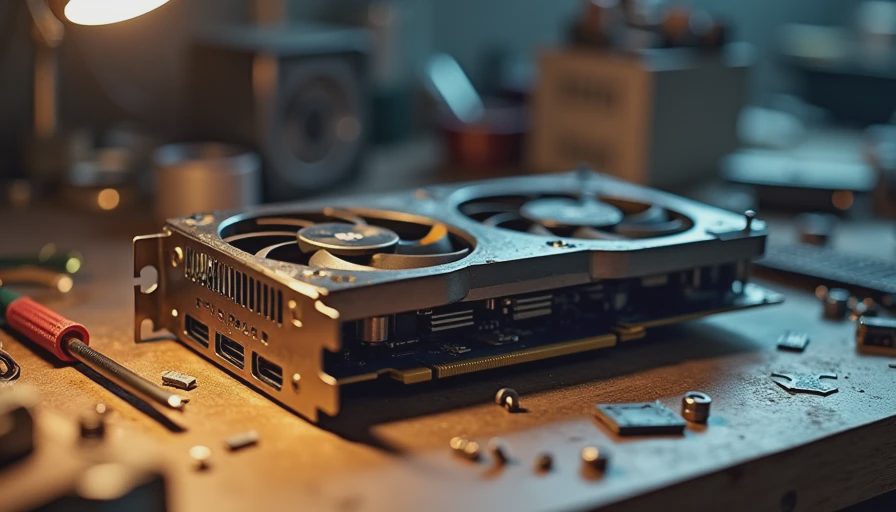
All runs used the same baseline package I had already locked:
Used RTX 3090 (24 GB), power-limited for sustained work
Minimal ComfyUI graph
480p, 24 frames
Fixed seed
fp16
Identical positive and negative prompts
The only things I allowed myself to change were the variables under test. Everything else stayed frozen so the failures would have nowhere to hide.
What the Failure Looked Like
It was not dramatic temporal identity collapse. It was quieter and therefore harder to catch.
Frames 1–8: acceptable color and texture
Frames 9–16: progressive softening, slight hue drift on skin and fabric
Frames 17–24: loss of micro-contrast, a washed or smeared appearance that made the clip feel lower quality than the latent previews suggested
The motion itself stayed relatively coherent. That is why I kept blaming the wrong stage. The sequence did not fall apart. It just looked worse than it should have after decode.
The False Leads I Chased First
1. Prompt and Negative Prompt
I added clearer material descriptions. I tried negatives aimed at blur, smear, and color shift. The decoded frames changed slightly in content but not in the underlying quality degradation. The problem was not instruction-following.
2. Steps and CFG
More steps cleaned up individual frames in isolation. The progressive softening across the sequence remained. CFG changes altered contrast and prompt adherence but did not restore the missing micro-detail after decode.
3. Sampler and Scheduler
I cycled through the samplers I trust for video work. Some produced sharper early frames. None eliminated the late-sequence degradation. The failure was downstream of sampling.
4. Model File Suspicion
I re-downloaded the diffusion model and checked hashes. The file was correct. Loading it in a fresh ComfyUI session produced the same decoded look. The weights were not silently corrupted.
By run twelve I was annoyed. By run fifteen I was suspicious of every node. By run eighteen I finally treated the VAE as a first-class variable instead of a passive utility.
The Isolation Method That Worked
I stopped changing generation settings and started changing only the decode path.
Generate a full set of latents once with the fixed seed and settings.
Save those latents.
Decode the exact same latents with different VAE files and different decode options.
Compare the outputs frame-by-frame and in motion.
When the latents stayed identical and the decoded video changed, the culprit was obvious. One VAE produced the soft, drifting look I had been fighting. Another VAE, same latents, same everything else, restored cleaner color and tighter detail across the full 24 frames.
The diffusion stage had been fine. The VAE was rewriting the result on the way out.
Why the VAE Is Easy to Miss
In many ComfyUI graphs the VAE loader sits off to the side and looks like plumbing. It does not have the dramatic controls of the sampler. It rarely appears in the “best settings” screenshots people share. Yet it directly controls how latent information becomes pixels, and small differences in VAE behavior compound across a video sequence.
On consumer hardware the problem can be worse because memory pressure sometimes changes how decode is performed (tiling, precision fallbacks, or different code paths). A VAE that behaves cleanly on a short test can look different once the sequence length or resolution pushes the card closer to its limit.
The Practical Checks I Now Run
Before I trust any new Wan2.2 configuration I do the following:
Generate once and save the latents if the graph allows it.
Decode with the VAE I think I am using.
Swap to a second known-good VAE and decode again.
Scrub both results looking for progressive softening, hue drift, or loss of micro-contrast.
Record which VAE file produced which look, including the exact filename and any decode options.
If the two VAEs produce meaningfully different video quality from identical latents, the VAE is an active variable in the workflow, not a background detail.
What I Changed in My Baseline After This Session
I made the VAE loader completely explicit. No auto selection. Filename recorded in the workflow notes. I also added a short regression test: the same hard seed and prompt decoded with the baseline VAE must not show the progressive softening I had just spent twenty runs characterizing.
The twenty-run session was expensive in time. It bought me a permanent test that now takes two minutes.
Personal Note From the Workbench

That evening ended later than I planned. Biscuit had already claimed the warm chair. Megan had gone to bed. I sat there looking at two otherwise identical 24-frame clips that differed only in the VAE and felt the familiar mix of frustration and relief. Frustration that I had wasted runs on the wrong stage. Relief that the failure was finally reproducible and therefore fixable.
This is the part of independent testing that never makes the highlight reels. Most of the real progress happens while staring at something that looks only slightly wrong and refusing to shrug it off.
Closing
The render was not failing in the sampler. It was failing in the decode. Twenty controlled runs later, the VAE was no longer an invisible utility. It was a measured part of the stack.
I still keep the two decoded clips from that session. Side by side they are the clearest evidence I own that “the model is the same” is not the same statement as “the output is the same.”
Run the test. Save the settings. Show the failure.
The settings are part of the result.